
Imagine a library where anyone can come in and make edits to the books at any time.
You come in to check out Lord of the Rings, but suddenly, instead of a timeless tale of friendship and courage in the face of all-consuming evil, it’s quite the opposite.
Someone has rewritten Frodo and Sam’s heroic journey to Mordor, making them give up on saving Middle Earth, opting instead to open a jewelry store in Bree. Their first customer? Sauron. And wouldn’t you know it, he’s shopping for a ring.
As for Aragorn, Legolas, and Gimli? Let’s just say whoever’s edited the story is very into fan fiction. We’ll leave it at that.
Your website is like that library, and the database that powers it is like all the books in it. If you give just about anyone access to come in and make changes, you could end up with a Lord of the Rings rewrite situation — but so much worse because it could put your entire site (and all its data) at risk.
Database
A database is a collection of information accessible to computers. Databases are used to store information such as customer records, product catalogs, and financial transactions.
Read MoreThat’s why you need to control who can see, access, and modify your data to keep your site secure and running smoothly.
This post will walk you through the basics of MySQL user management, from creating user accounts to assigning and modifying permissions.
Ready to dive in? Let’s get started!
What is a MySQL Database?
A MySQL database is a structured collection of data stored electronically and managed using the MySQL Database Management System (DBMS).
MySQL, an open-source relational database management system, uses Structured Query Language (SQL) for accessing, managing, and manipulating the data.
A MySQL database is designed to handle everything from a single row of information to large datasets comprising millions of rows. It’s built to store data in tables, which are organized into rows and columns. Each table in a MySQL database serves a specific purpose, holding data relevant to different aspects of your site or web application.
MySQL is well known for being reliable and easy to use. Web developers across industries use it for web applications, logging applications, data warehousing, and more. Whether you’re storing user information, product catalogs, or transaction records, MySQL is robust and scalable and can likely meet your database management needs.
Pro tip: Need to migrate or connect a MySQL database to your DreamHost site? Find an easy-to-follow tutorial in our Knowledge Base.
MySQL User Accounts Explained
MySQL user accounts are essential for managing access to your database. Each user account in MySQL can be given specific permissions that dictate what actions the user can perform. This granular control helps maintain the security and integrity of your data.
The Role of the Root User
When you first install MySQL, a default user account called root is created.
The root user has full administrative privileges, meaning they can perform any action on the database, including creating and deleting databases, adding and removing users, and granting or revoking permissions.
While the root user is powerful, we don’t recommend relying solely on this account for all tasks. Using the root account for everyday operations poses a significant security risk.
If anyone gains unauthorized access to this account, they’ll have control over your database.
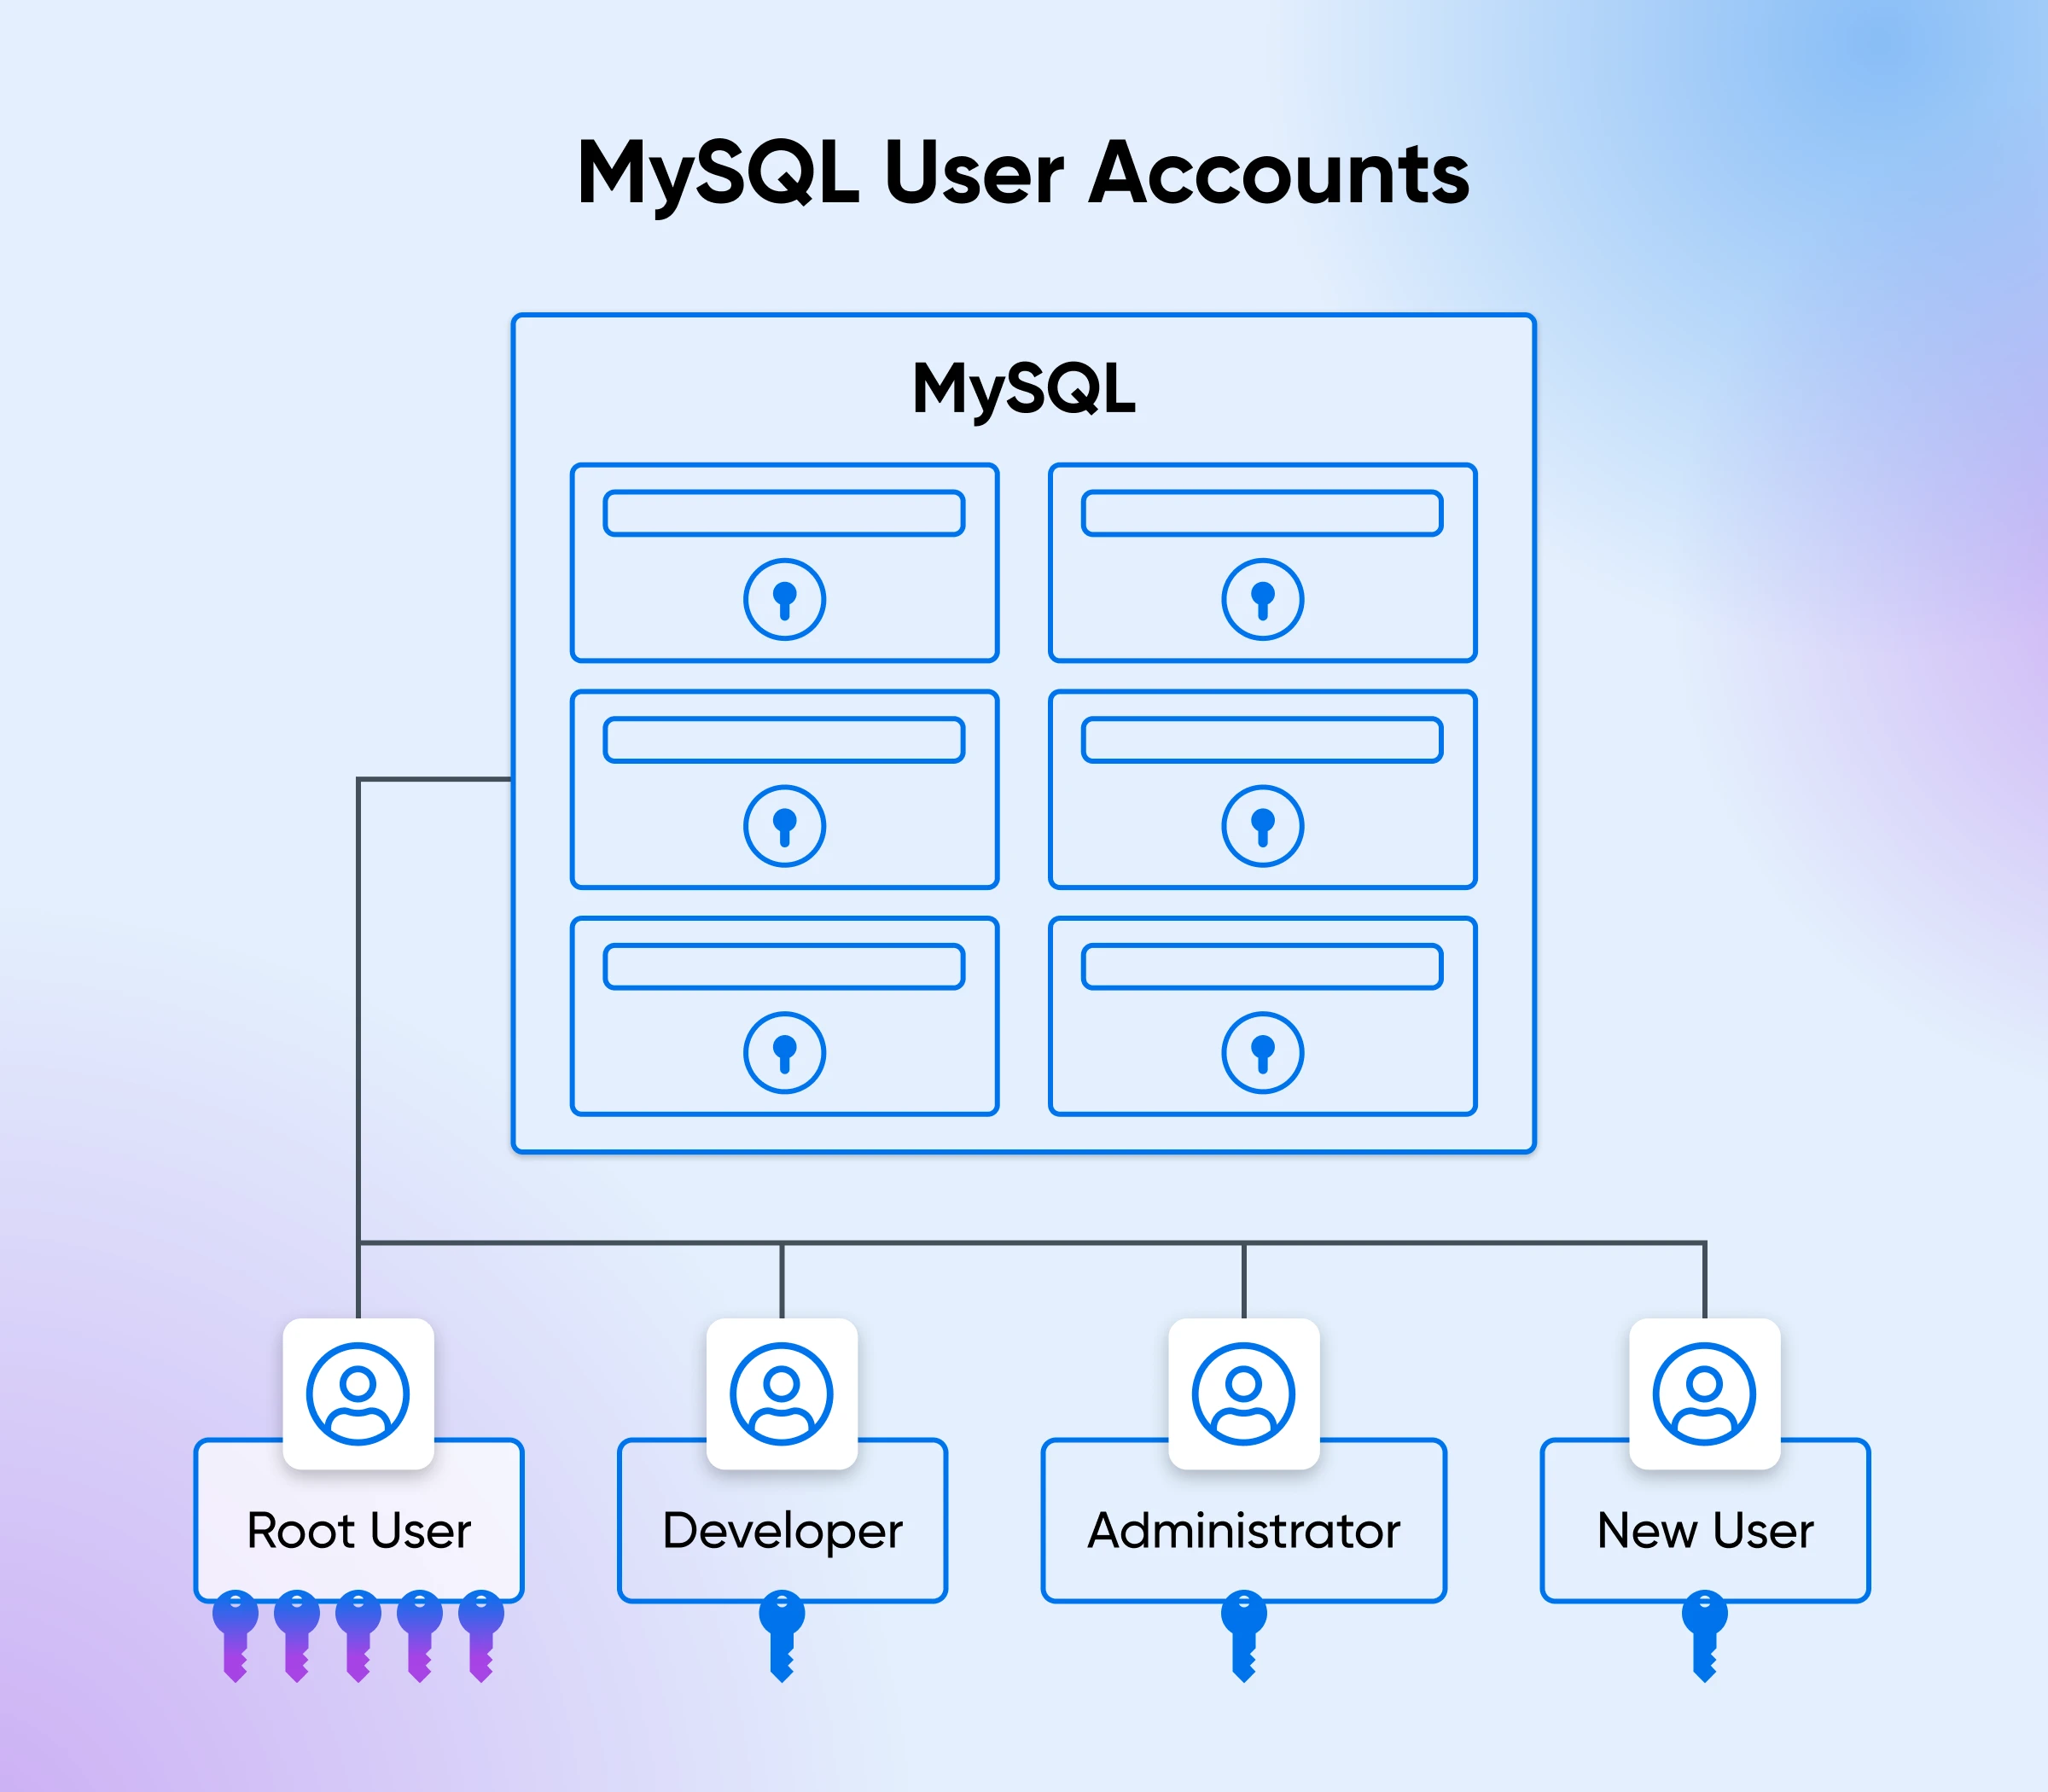
Why Create New Users?
For better security and to streamline database management, the best practice is to create specific user accounts for different purposes.
For example, you might create separate accounts for developers, administrators, and application processes, giving each type of account only the necessary permissions they need to perform their tasks. This way, you minimize the risk of accidental or malicious actions that could affect your database’s integrity and security.
Creating new user accounts allows you to:
- Improve database and site security: Limit access to sensitive data and critical operations by assigning only the necessary permissions to each user.
- Better organize roles: Clearly define roles and responsibilities within your team by giving everyone the appropriate level of access to tasks they need to do.
- Make it easier to manage your database: Easily track and manage user activities, making it simpler to audit changes and identify issues.
How to Manage Your MySQL Users (Two Methods)
We’ll cover two primary methods to manage your MySQL users: using MySQL directly, and using the DreamHost panel. In the end, which method you use will depend on your comfort level with command-line tools and your specific requirements.
Managing Users With MySQL
To manage MySQL users directly through MySQL, you’ll need to have MySQL installed on your system.
This involves downloading the MySQL software from the official MySQL website, installing it, and configuring it according to your operating system’s requirements.
Once installed, you can interact with your MySQL database using the MySQL command-line client.
Nerd Note: Most of the following commands can only be used on dedicated servers. You can check out our Knowledge Base for more information.
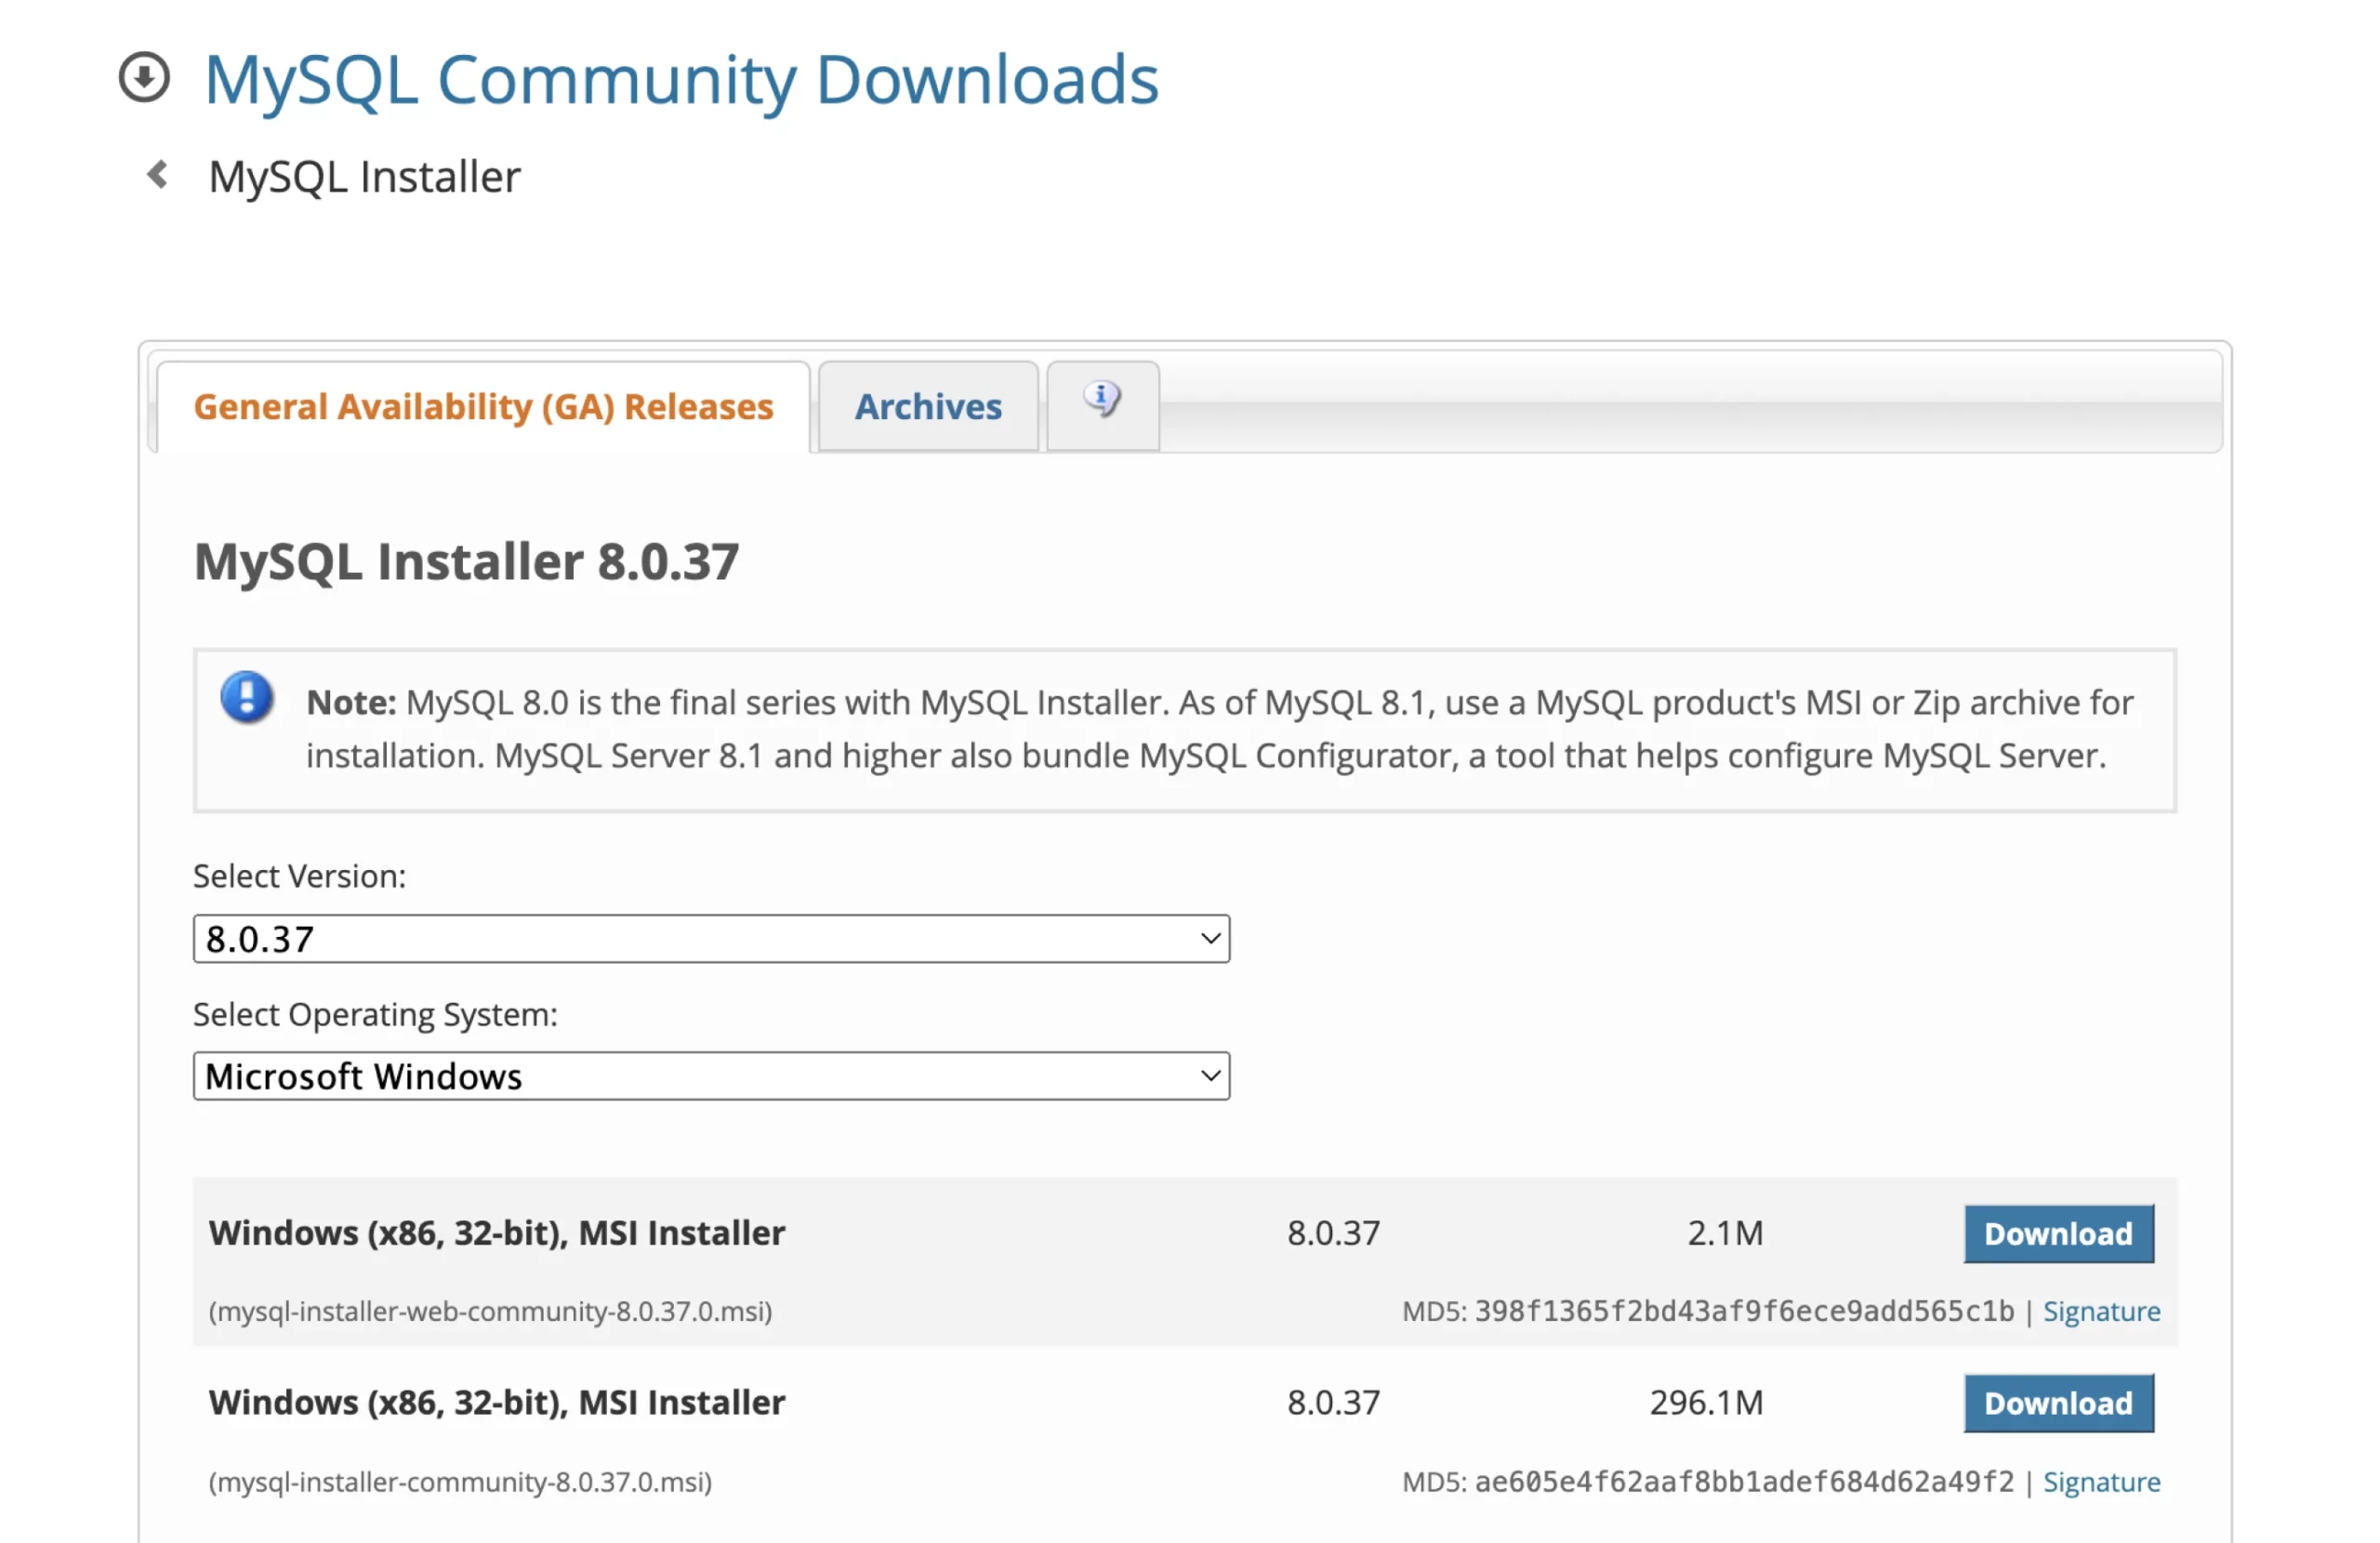
To install MySQL, follow these steps:
- Visit the MySQL official website, download the installer, and follow the installation instructions for your operating system (Windows, macOS, or Linux).
- After installation, you’ll need to configure the MySQL server to set up initial user accounts and security settings.
- Use Terminal (on macOS and Linux) or command prompt (on Windows) to access the MySQL command-line interface by entering the command
mysql -u root -p, followed by your root password.
Once you have MySQL set up, you can create, manage, and delete user accounts using SQL commands.
This method gives you a high level of control and flexibility, but it does require you to be familiar with SQL syntax and command-line operations (which we’ll cover in more detail below).
How to Create a MySQL User Account
- Log in to the MySQL server as the root user. Enter the following command:
mysql -u root -p. - You’ll be prompted to enter the root password. Once authenticated, you’ll be connected to the MySQL server.
- To create a new user, use the CREATE USER statement. Replace newuser with the desired username and password with a strong password for the new user:
CREATE USER 'newuser'@'localhost' IDENTIFIED BY 'password'; - This command creates a new user who can only connect from the local machine (localhost). If you want the user to connect from any host, replace localhost with %.
- To apply the changes, execute the FLUSH PRIVILEGES command:
FLUSH PRIVILEGES;
Nerd Note: Whenever a password is assigned via command prompt, it’s good practice to clear the terminal history to reduce the risk of someone stumbling across a password.
How to Grant Privileges for a MySQL User
- Log in to the MySQL server as the root user. Enter the following command:
mysql -u root -p. - Enter your root password to connect to the MySQL server.
- Use the GRANT statement to assign specific privileges to a user. Privileges can be granted for specific databases, tables, or even columns. Here are some common examples:
- Grant all privileges on a specific database (This command grants all privileges on the exampledb database to the user newuser connecting from localhost):
GRANT ALL PRIVILEGES ON exampledb.* TO 'newuser'@'localhost'; - Grant specific privileges on a specific database (This command grants only the SELECT, INSERT, and UPDATE privileges on the exampledb database to the user newuser connecting from localhost):
GRANT SELECT, INSERT, UPDATE ON exampledb.* TO 'newuser'@'localhost'; - Grant all privileges on all databases (This command grants all privileges on all databases to the user newuser connecting from localhost. The WITH GRANT OPTION allows the user to grant privileges to other users):
GRANT ALL PRIVILEGES ON *.* TO 'newuser'@'localhost' WITH GRANT OPTION; - Grant privileges on specific tables (This command grants SELECT and INSERT privileges on the exampletable table within the exampledb database to the user newuser):
GRANT SELECT, INSERT ON exampledb.exampletable TO 'newuser'@'localhost';
- Grant all privileges on a specific database (This command grants all privileges on the exampledb database to the user newuser connecting from localhost):
- To apply the changes, use the FLUSH PRIVILEGES command:
FLUSH PRIVILEGES;
How to See Privileges for a MySQL User
- Log in to the MySQL server as the root user. Enter the following command:
mysql -u root -p. - Enter your root password to connect to the MySQL server.
- The SHOW GRANTS statement is used to display the privileges granted to a specific user. To see the privileges for a particular user, use the following command, replacing newuser with the username and localhost with the host from which the user connects:
SHOW GRANTS FOR 'newuser'@'localhost'; - Carefully review the privileges listed to make sure the user has the correct permissions. If any adjustments are needed, you can modify the user’s privileges using the GRANT or REVOKE statements, which we’ll cover in the next sections.
How to Modify Permissions for a MySQL User
- Log in to the MySQL server as the root user. Enter the following command:
mysql -u root -p. - Enter your root password to connect to the MySQL server.
- To grant additional privileges to a user, use the GRANT statement. For example, to grant the UPDATE privilege on the exampledb database to newuser connecting from localhost, use:
GRANT UPDATE ON exampledb.* TO 'newuser'@'localhost'; - To remove specific privileges from a user, use the REVOKE statement. For example, to revoke the INSERT privilege on the exampledb database from newuser connecting from localhost, use:
REVOKE INSERT ON exampledb.* FROM 'newuser'@'localhost'; - After using either GRANT or REVOKE, remember to apply changes by using the FLUSH PRIVILEGES command:
FLUSH PRIVILEGES;
If you need to completely change a user’s privileges, it might be easier to revoke all their existing privileges first and then grant the new set of permissions. To revoke all privileges from a user, use: REVOKE ALL PRIVILEGES, GRANT OPTION FROM 'newuser'@'localhost';
Then, grant the new set of privileges as needed: GRANT SELECT, UPDATE ON exampledb.* TO 'newuser'@'localhost';
Don’t forget to flush the privileges after making these changes: FLUSH PRIVILEGES;
How to Delete a MySQL User
- Log in to the MySQL server as the root user. Enter the following command:
mysql -u root -p. - Enter your root password to connect to the MySQL server.
- Use the DROP USER statement to delete the user account. Replace newuser with the username and localhost with the host from which the user connects:
DROP USER 'newuser'@'localhost'; - If the user can connect from any host, use:
DROP USER 'newuser'@'%'; - Before deleting a user, it’s good practice to make sure that no objects (like triggers or procedures) depend on the user. If you do this, you won’t get any unexpected problems after the user is removed. You can review dependent objects in your database and reassign ownership if necessary.
- Although the DROP USER statement removes the user account and its privileges, it’s wise to flush the privileges to be sure all changes are immediately applied:
FLUSH PRIVILEGES;
How to Show Users for a MySQL Database
Viewing all users in your MySQL database is a useful way to manage and audit user accounts. Then you’ll know who’s got access to your database and what their permissions are.
If you’re familiar with MySQL commands, you might think there’s a SHOW USERS command — similar to the SHOW DATABASES or SHOW TABLES commands you probably already know and use. However, SHOW USERS doesn’t exist.
So how do you see all your database users? Follow these steps.
- Log in to the MySQL server as the root user. Enter the following command:
mysql -u root -p. - Enter your root password to connect to the MySQL server.
- MySQL stores user account information in the mysql.user table. To view all user accounts, you can run the following SQL query to display a list of all users and the hosts from which they can connect:
SELECT user, host FROM mysql.user; - If you need more detailed information about each user, such as their privileges or other settings, you can query additional columns from the mysql.user table. For example:
SELECT user, host, authentication_string, plugin FROM mysql.user; - To filter and view specific users, you can add a WHERE clause to your query. For example, to view users connecting from localhost, use:
SELECT user, host FROM mysql.user WHERE host = 'localhost';
Managing Users With DreamHost
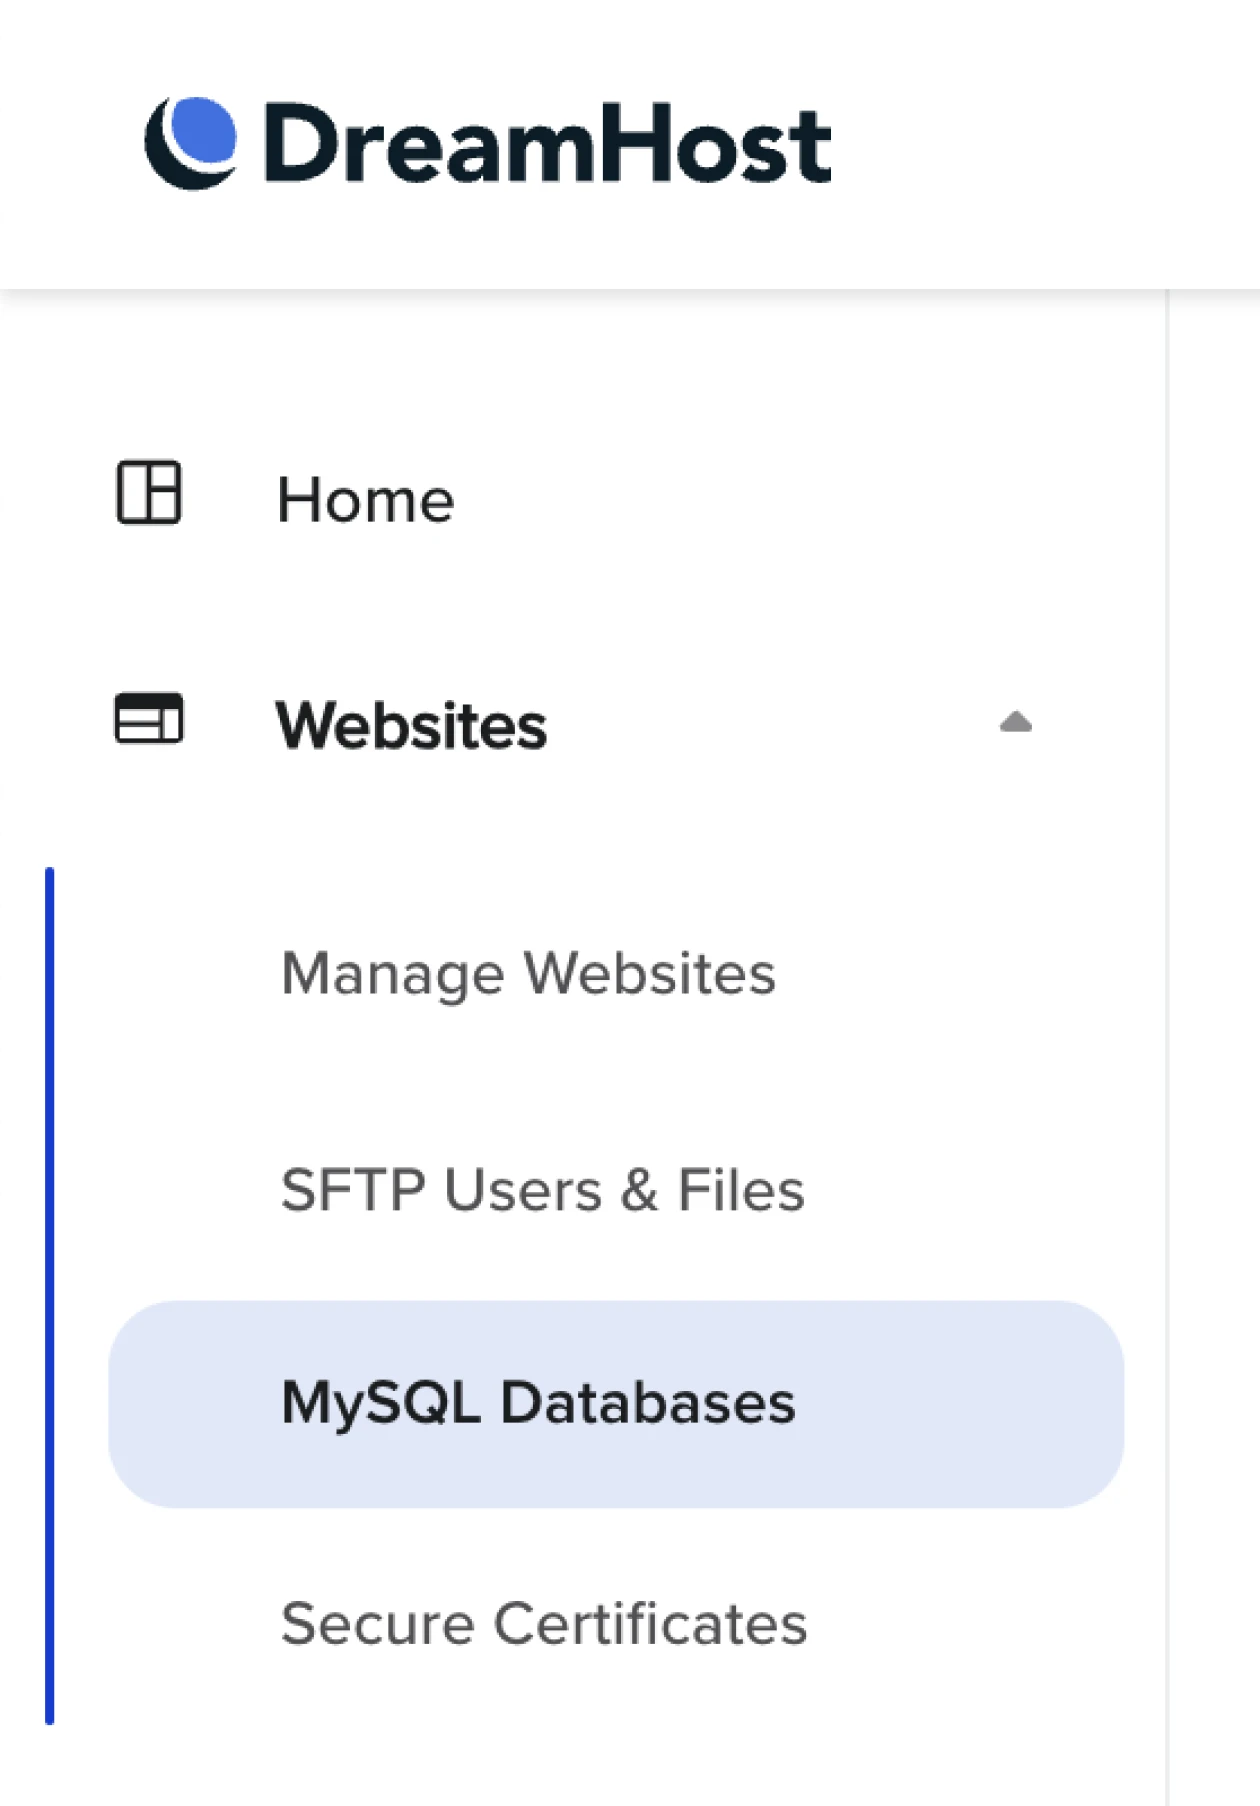
If the idea of using command-line tools seems daunting, the DreamHost panel offers a user-friendly alternative for managing MySQL users.
The DreamHost panel is a web-based interface that simplifies database management tasks, so you don’t have to use command prompts.
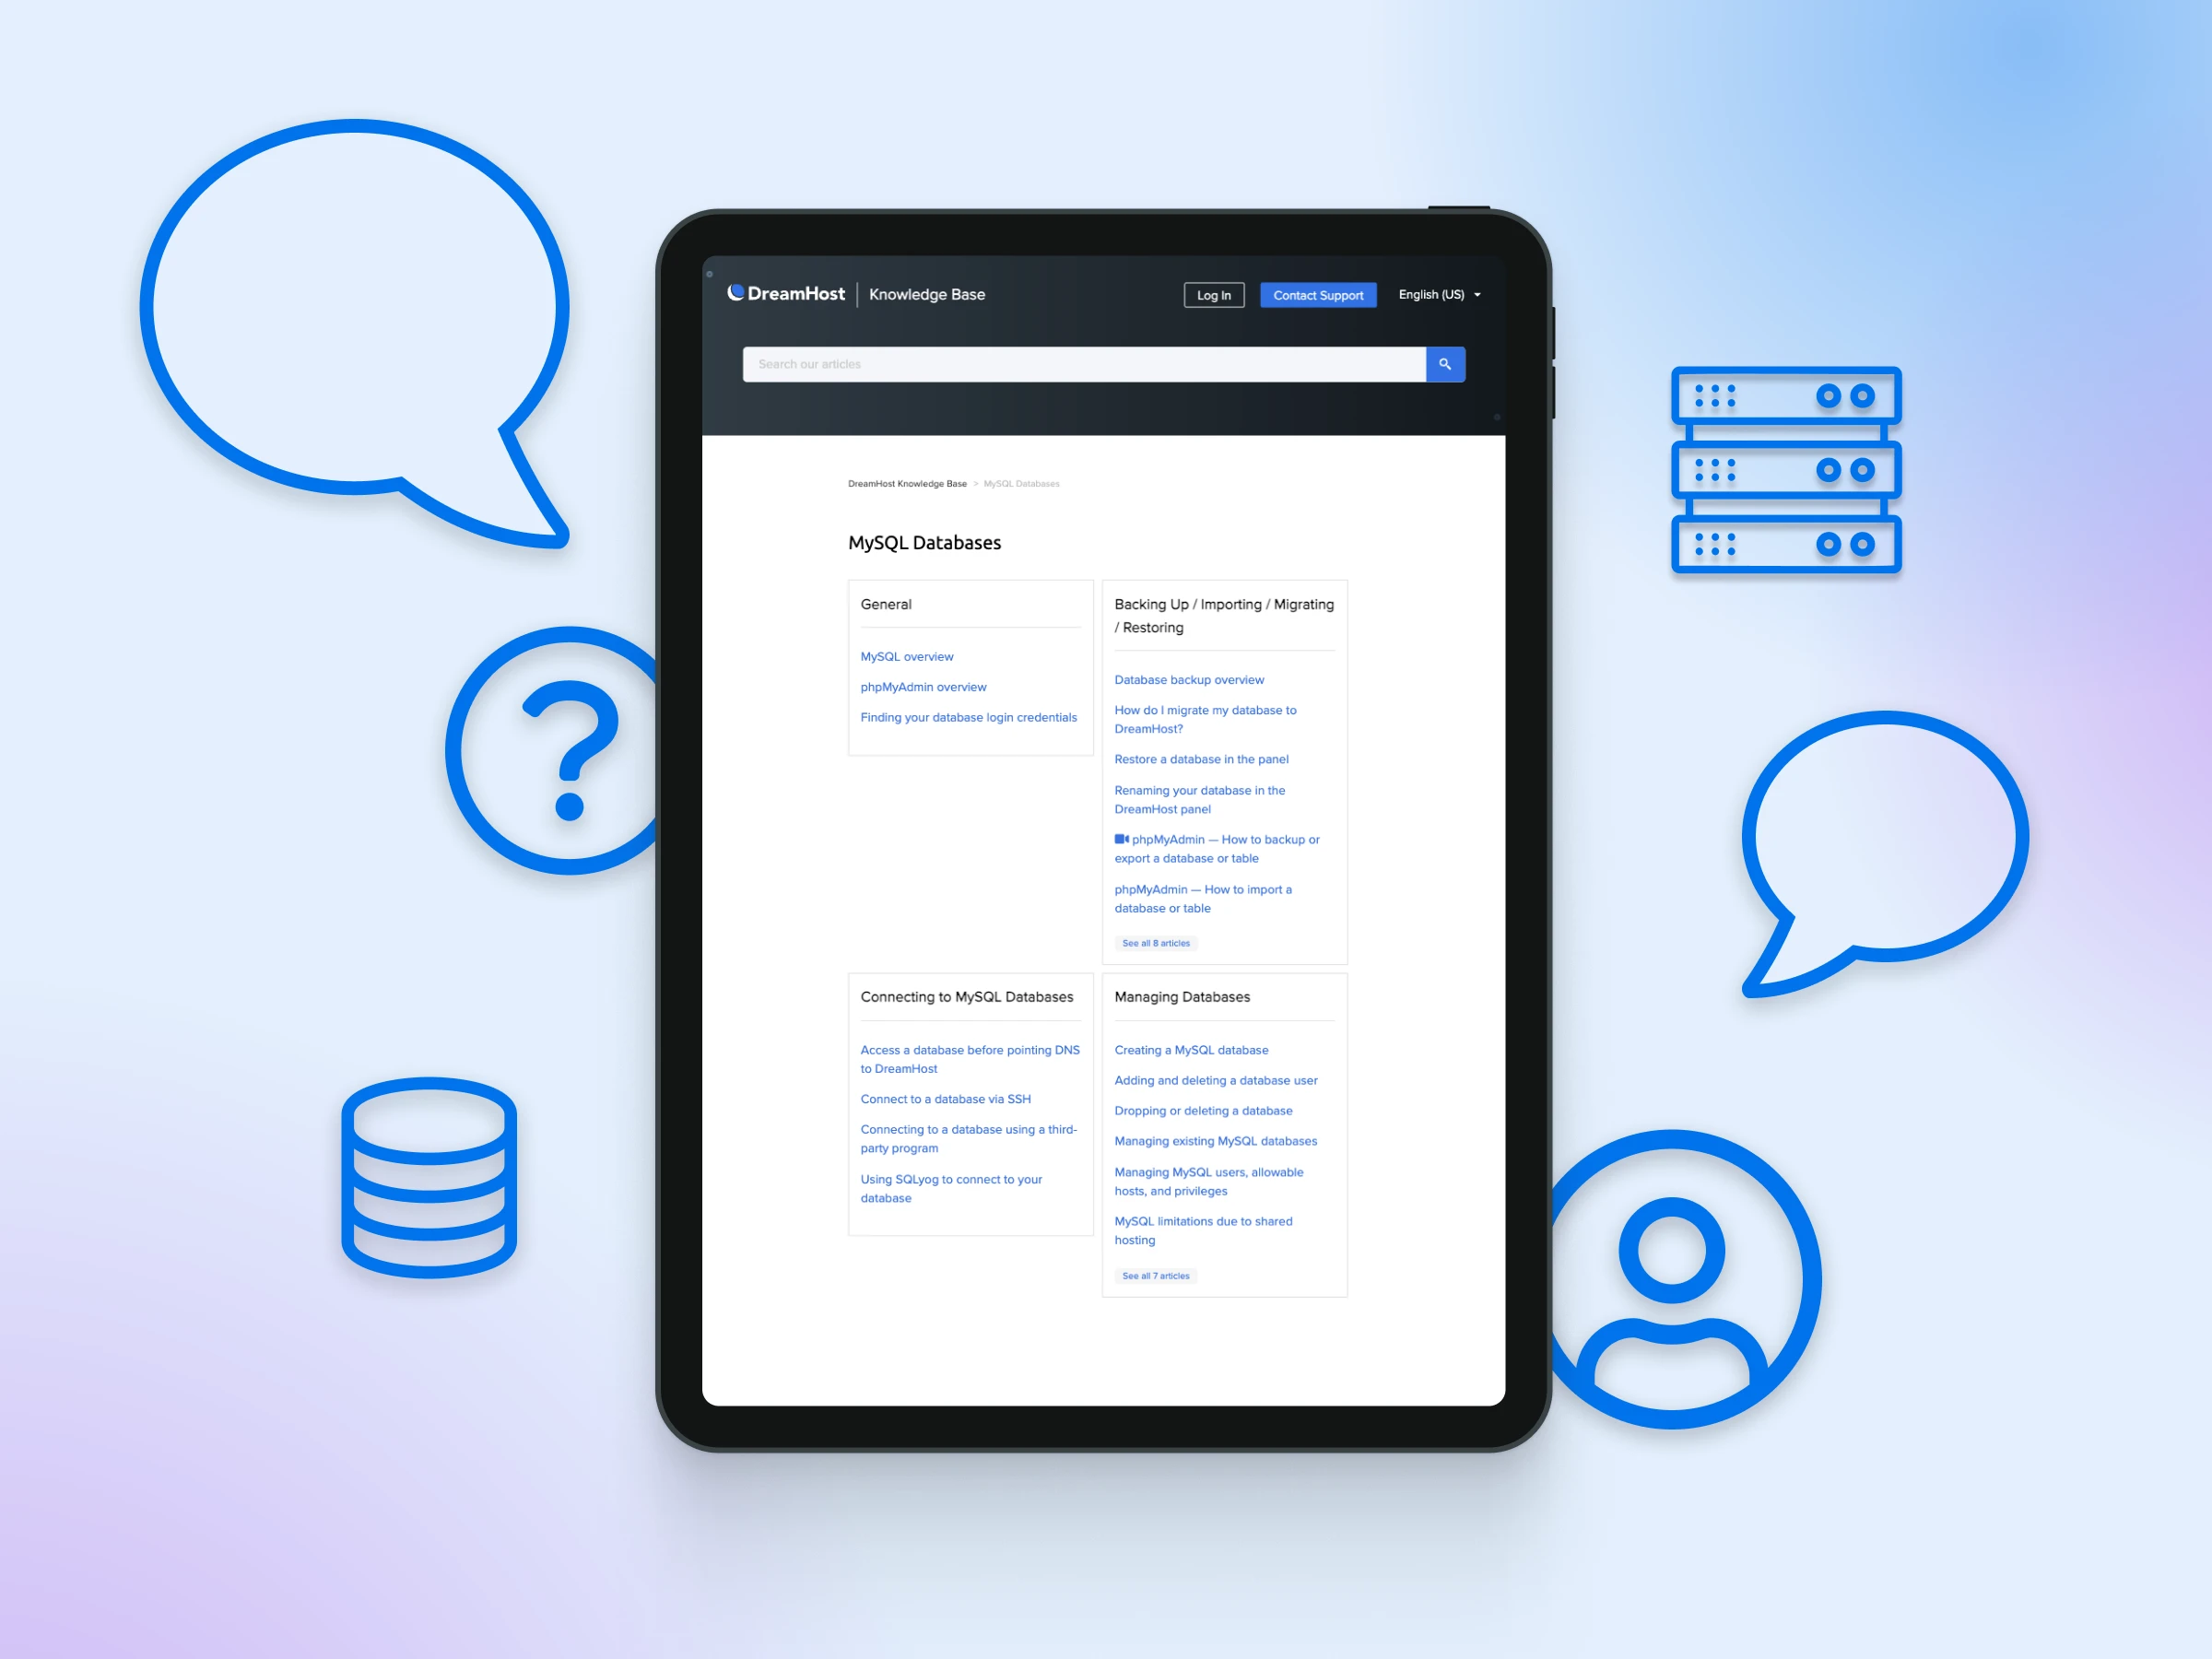
For detailed tutorials on accessing your database, adding and deleting users, managing privileges, and more, visit our Knowledge Base page for MySQL databases.
And if you’re looking for reliable managed hosting for your website that not only makes database management straightforward with an intuitive control panel, but also offers free migration, 24/7 support, and uptime guarantees — you need DreamHost.
Check out our affordable hosting plans and see why millions of people and businesses choose us!
Ultimate in Power, Security, and Control
Dedicated servers from DreamHost use the best hardwarernand software available to ensure your site is always up, and always fast.
See More
